We have finally made it to the master bathroom – the great “make over” so to speak. This is probably where we are doing the most work. This is not because we wanted to do the most work in here. It is a matter of necessity.
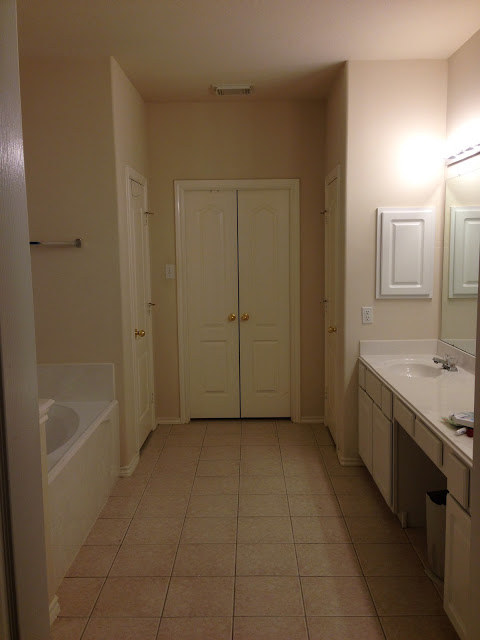
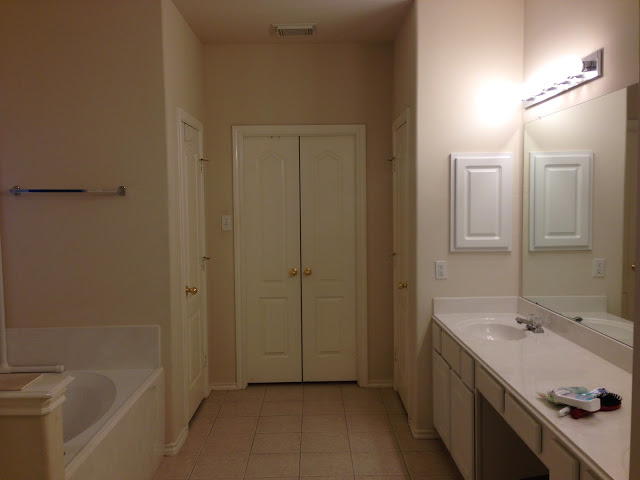
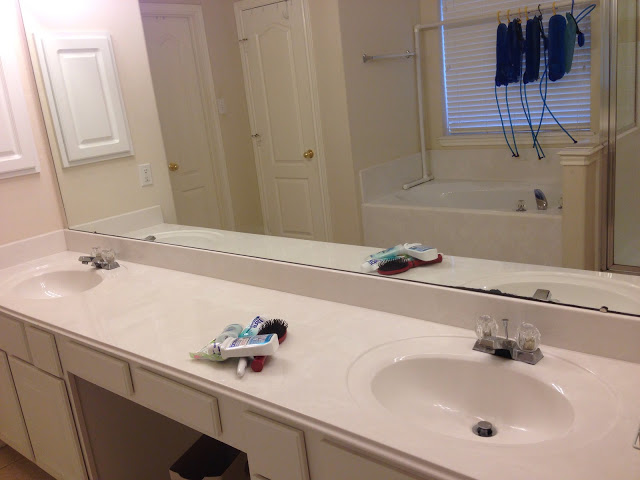
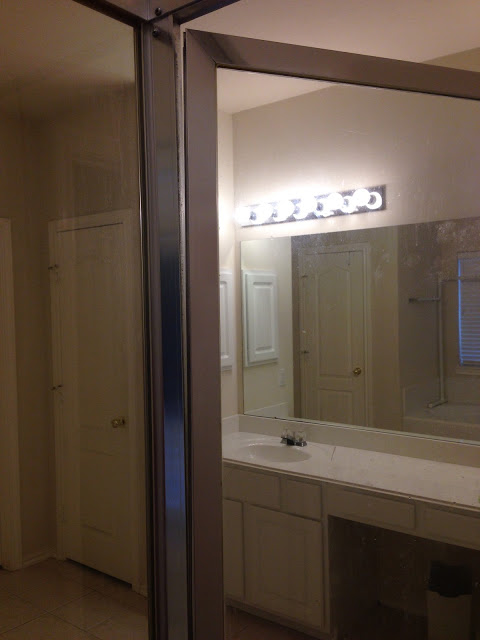
We have been blessed with a large master bathroom. This is the bathroom standing in the doorway – a double door. The doors straight ahead are the doors into the master closet. It is plenty big.
Here is the same shot in landscape orientation so that you can get a better feel for just how big the room is. It is roughly 12 feet wide. Give or take. I would have to measure it again to be exact on those measurements, but it is a good size.
On first look, there does not appear to be anything wrong with the master bathroom…
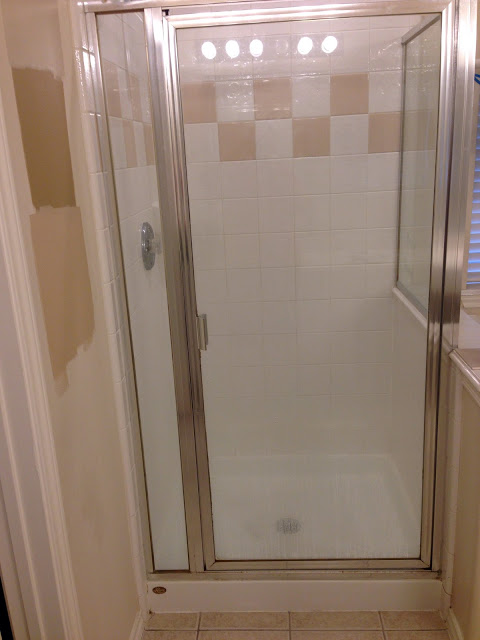
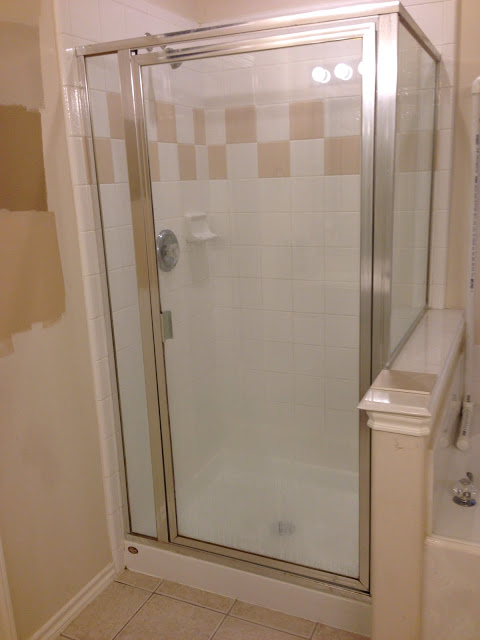
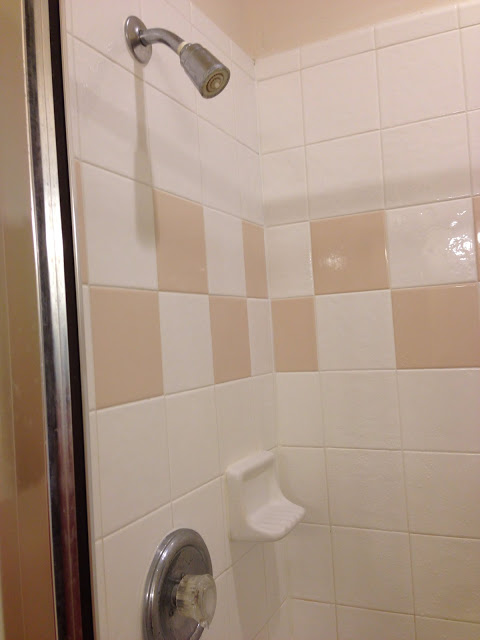
This, however, has been the problem child in the room for several years. This would be the master shower. It has been something that I just like to ignore most days. It is the problem child in the house.
From a distance it does not look so bad…
It is showing the wear and tear or years (14 of them) of hard ward deposits and soap scum build up. That is something that could be taken care of with a bit of work.
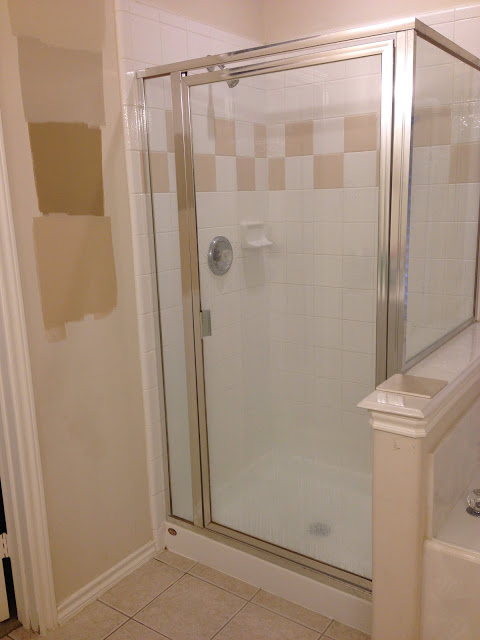
Overall…from a distance…it does not look too bad…
Do not mind the paint swatches on the wall. Before we decided that we were going all one color, I tested about five colors before we found the color we selected. I was trying to find the “right” neutral color to paint the walls. I had not originally intended to paint the entire house 100% Kilim Beige like we have, so I had tested several colors. I was going to paint the half bath a different color than it is now. I was going to paint the upstairs bathroom a darker color grey for example. We were not even going to repaint the boys’ bedrooms, just touch up their colored rooms.
To be honest, I am glad that I had that notion of “just do it.” Having walked through another house already at an open house, I am SO GLAD that we have taken the extra time to get rid of the cadet blue, the sky blue, the dark blue, the hulk green, the butter yellow, the faux painted yellow walls…they are all gone. My first response to the room with the pink and brown walls with the monkey on them was, “yes this room is definitely pink.” It was. It was bright pink. It was not even the monkey that was the problem. They were actually really cute. It was the really bright pink walls. It was not even the brown that caused problems, it was the pink.
I am a creative person and it would only take a few strokes of paint to cover it up, but that room was painfully pink. I imagine that Kyle’s hulk green room would be the same for many. The thought that kept going through my mind was “what if they do not like yellow?” Hence my house is now 100% neutral.
Back to our master bathroom, however…
When you start to look at the shower a little closer, it starts to become a little more clear why the shower is a problem child.
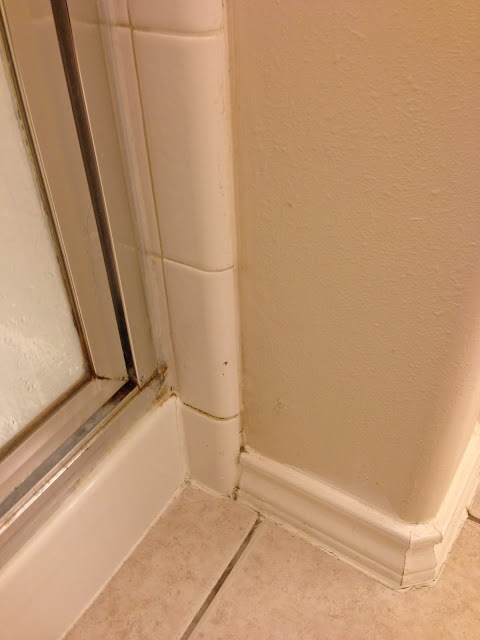
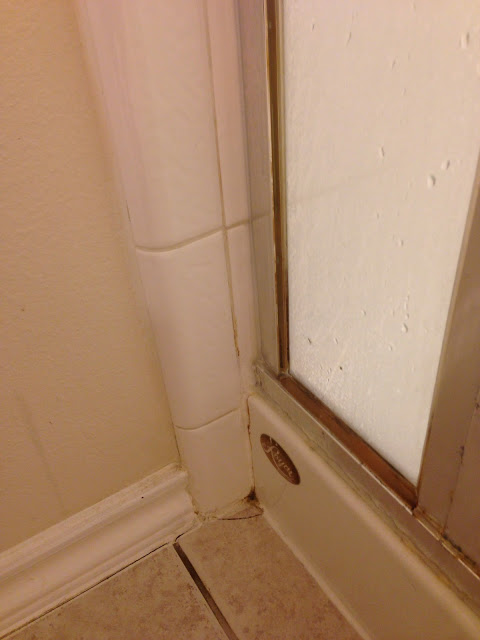
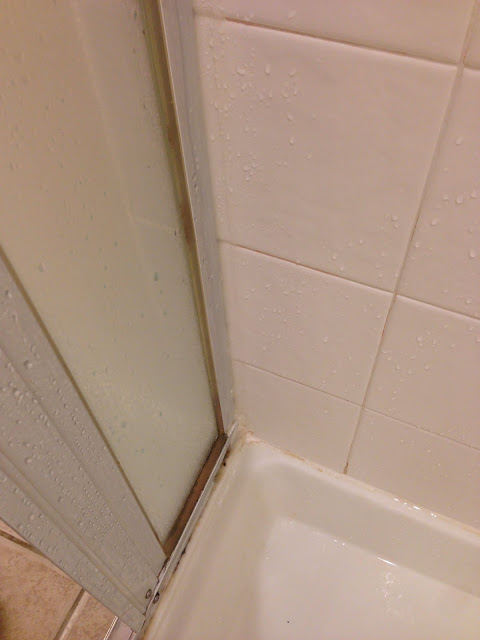
Here is the up close evidence that there was leaking in the shower. It was leaking into the sheetrock behind the tiles. Since the tiles were all caulked and grouted on the inside, this was leaking through the shower door frame into the tiles and out into the wall boards.
While not as pronounced on this side of the shower, there is evidence of some leaking on this side as well. You can also see the evidence of build up in the frame itself. This is after it has been cleaned.
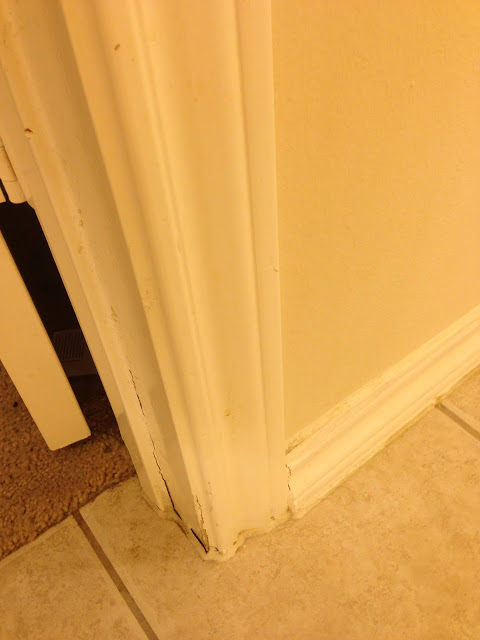
There is evidence of water seepage on the door frame on the wall of the shower. We have never seen water pooling on the floor here, but friends of ours have an identical house. Their shower is worse shape than ours. They have found pooling on the floor. They have found water running through their wall behind their baseboard from their shower. We fear that this is a possibility with our shower.
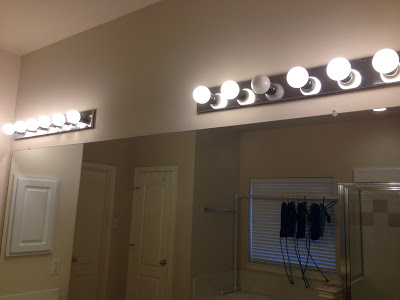
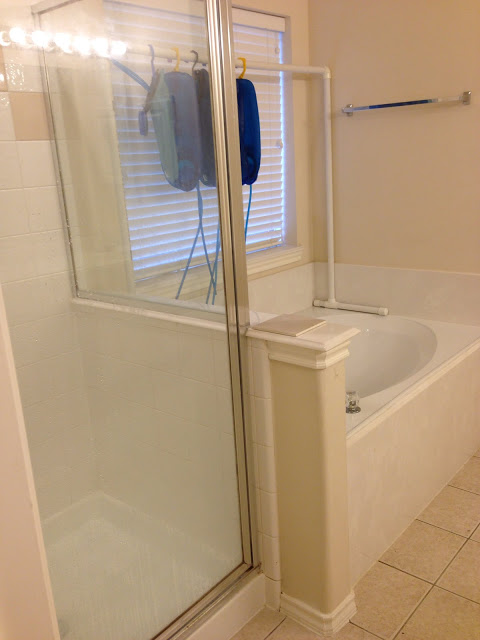
Our cheap contractor light fixtures. You will notice that one bulb is burned out. These are compact florescent light bulbs in the globe form. They are bright. Well they are when they warm up. It takes a few minutes for them to get to their full brightness. We are in the process of switching all the lights LED lights so I had a choice to make. These fixtures are covered with rust spots. Lots of them. Replacing this many LED bulbs is not cheap. Actually, with regular type LED bulbs it is not too bad, however, these are globe shaped bulbs and those are still very expensive. Cost wise it was going to be cheaper to replace the light fixture so that I could use regular light bulbs. So these will be replaced and we will put in regular LED bulbs. In theory these will be just as bright even though the light fixtures I picked out have two less bulbs each.

This is our spacious bathroom counter and huge mirror. These faucets are out of there. I have never cared for them. They are showing their age with all the deposits. I have scrubbed them a lot and cannot get them off at this point. Some of them have little nicks and damage in them so they are just going away. The drain plug on the right does not hold water anymore which makes it interesting if I ever need to soak anything in the sink.
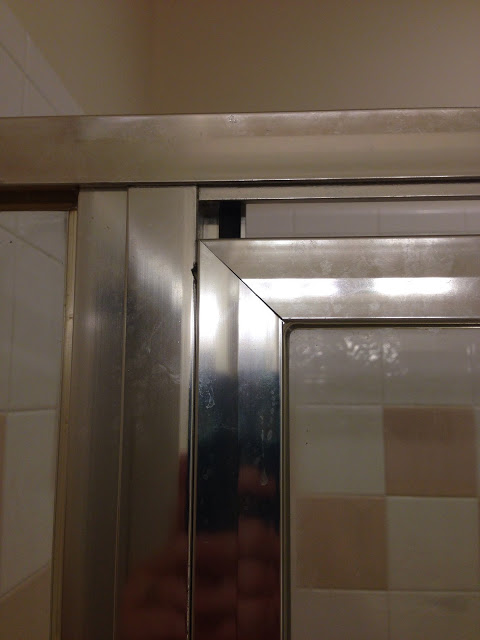
This is what the hinge on the shower door looks like from the outside. Yes, you are seeing through the hinge. It is cracked. I would say at this point it is cracked about 1/3-1/2 of the way down the door. Maybe not all the way to half, but it pops and cracks a little more each time the door opens. This is one of the biggest reasons we are doing most of the work we’re doing. It is a safety concern for us and anyone else.
The door is so far off its normal hanging pattern, the door is cutting into the frame on the left hand side when you’re looking at it. That is actually a screw from the door’s frame that is cutting into the metal of the shower frame.
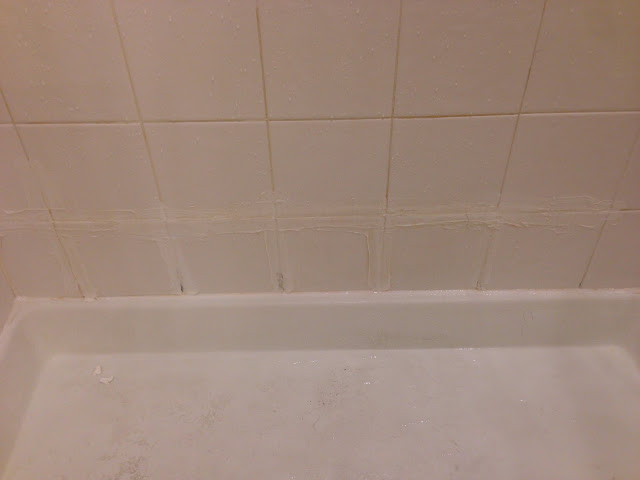
I do not remember exactly how many years ago this happened, maybe 3-4. This is my fix for the problem I found when I went to fix the caulking and grouting in the shower then. The tiles started to pop off the wall. I had already caulked the shower 2 times at this point. This was the third time. I decided that the tiles were staying on on the wall and they were going to have a water tight seal for a while. I was not doing this again until we were ready to completely redo the shower. It worked. The problem? We are redoing the shower. We will not get to enjoy the shower for lots of years on end after we do it. Jokes on us, I guess.

More of the brilliant caulking I did to keep the tiles on the wall in the shower. To the right, is the bottom of the door where it and the frame hit the wall. This is where it is leaking into the wall we believe. I am pretty sure it is from the last time I caulked everything. I sealed it off really good. It is leaking again. You can see how the mold and mildew have built up inside and around that area.

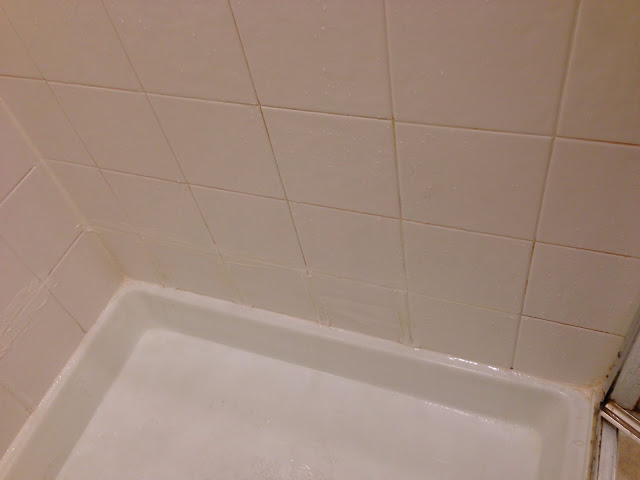
This is the other side of the shower where the frame hits the wall inside. I caulked it up tight. You can see the holes in the frame in this shot. They are intended to help water drain out of the frame. That is not what happens if you want my opinion. It just lets more water in. They are too high up on the frame and so there is always some residual water in the frame allowing for mold and mildew buildup. Bad design. Unfortunately, the builder that put in our shower cut the tiles where they hit our frame so the tiles are not solid behind the frame and that drains right into the wall. Once that caulk seal broke several years ago, we had a bad water situation.
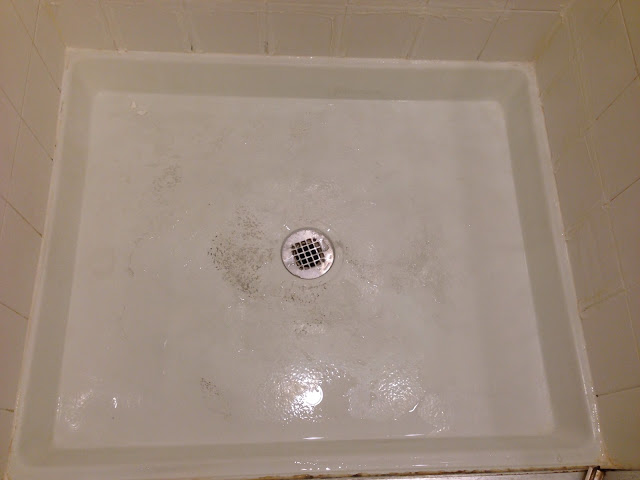
Here is the shower pan. You can kind of see the cracks in the middle. I promise I cleaned the floor. Where the dirty part is are lots of little cracks that like to hold onto all the dirt and grime.
This is the standard issue contractor shower head. Shrug. What can I say? We are boring people when it comes to the shower. Actually, this has worked just fine until the past several months. We are just now starting to notice diminished performance from the shower head. I cannot fault them for that. Why replace a perfectly good working shower head? Just because we did not like it 100%. It worked. That is a trusty Moen faucet.
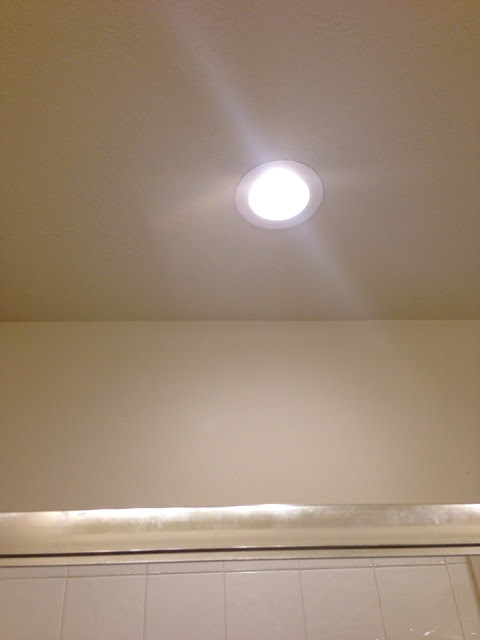
So this is an awful canister light. Actually, this is an amazing canister light. We already replaced it. This is the new LED version. LOVE it! It is bright without being painfully bright.
Here is the inside of the shower door hinge. You can see better how far down it is cracked. You still can’t see all the way down, but you can get a better idea of just how bad of shape the door is in. The hinge on the door cannot be replaced. You have to replace the entire door to fix it. We have already done that before to the tune of over $800. It is quite the undertaking as they have to partially dismantle the shower to get the door out.
Here is the standard issue Moen contractor faucet in the tub. Yes, it is a big tub faucet.
The bathroom counter from the other end of the bathroom (closet end). You can see the single hand towel holder in the room. Yes, there are two sinks and a single hand towel ring.
So that is what the master bathroom looks like more or less before operation new shower begins.


Be the first to comment