
Getting to this point in the “jacket recreation project” in my APD 290 CAD Pattern Making class feels incredible! Not going to lie, it has taken me a lot of hours to get to this point, and seeing something that resembles what it should look like is quite empowering. It is reassuring that I do know and understand the patternmaking process even if I still have a lot to learn.
This is part of why I am such a huge proponent of lifelong learning. Progression and growth come over time, slowly as we learn and adjust. When we always look at something the same way, we become stagnant and progression stops. To continue towards “perfection,” we must continue to reach outside of where we are and increase what we’re doing.
This class is pushing me to do things that I have never done before. I have learned how to make patterns with paper and pencil, but my biggest regret is not knowing how to create patterns that fit me as a plus-sized woman. This is not something regularly taught, so I find myself drawn to outside sources to fill in the gaps.
I truly wish that BYU-Idaho would focus on more size inclusivity in its fashion program, but this is not likely to happen just like it has not happened at most fashion schools around the world. Times have changed and it is time to change to fit those times. It has been a huge disappointment that critical techniques are skipped in the name of another “hands-on learning project.” These skills could decrease the overall time required for these projects.
Learning technique is important – never stop learning.
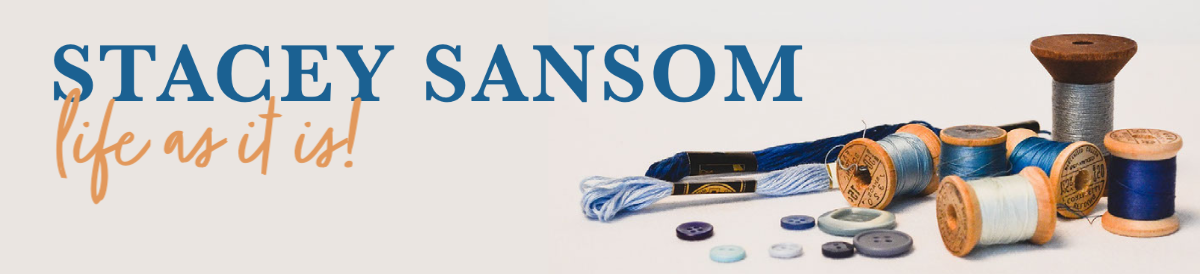
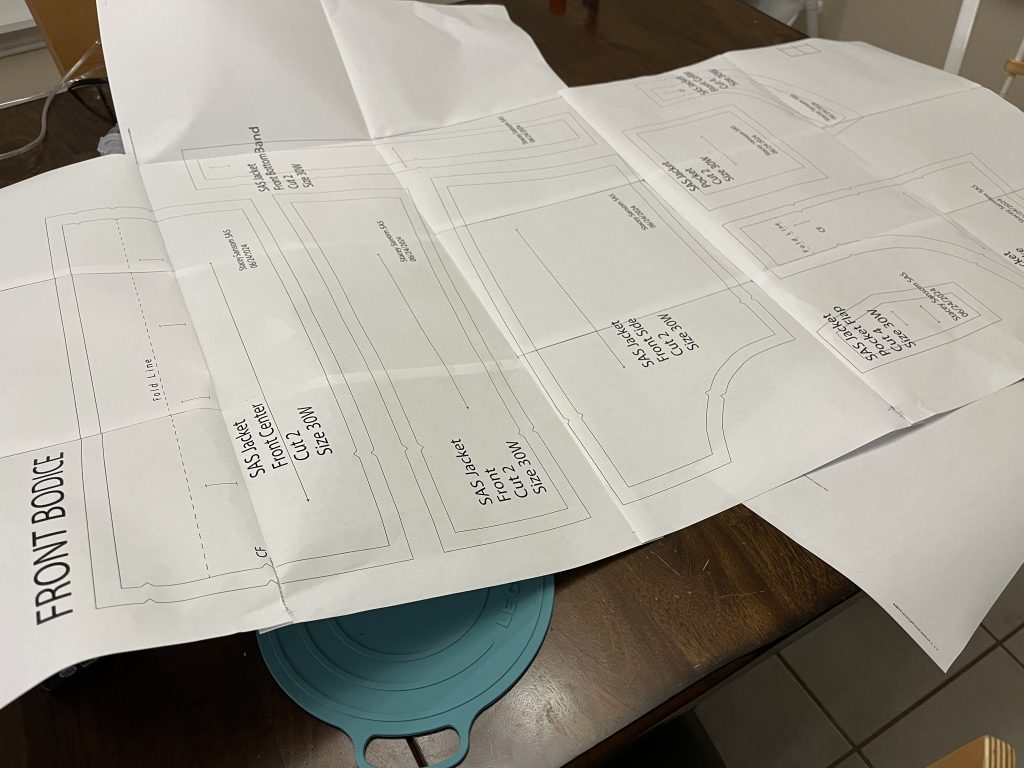
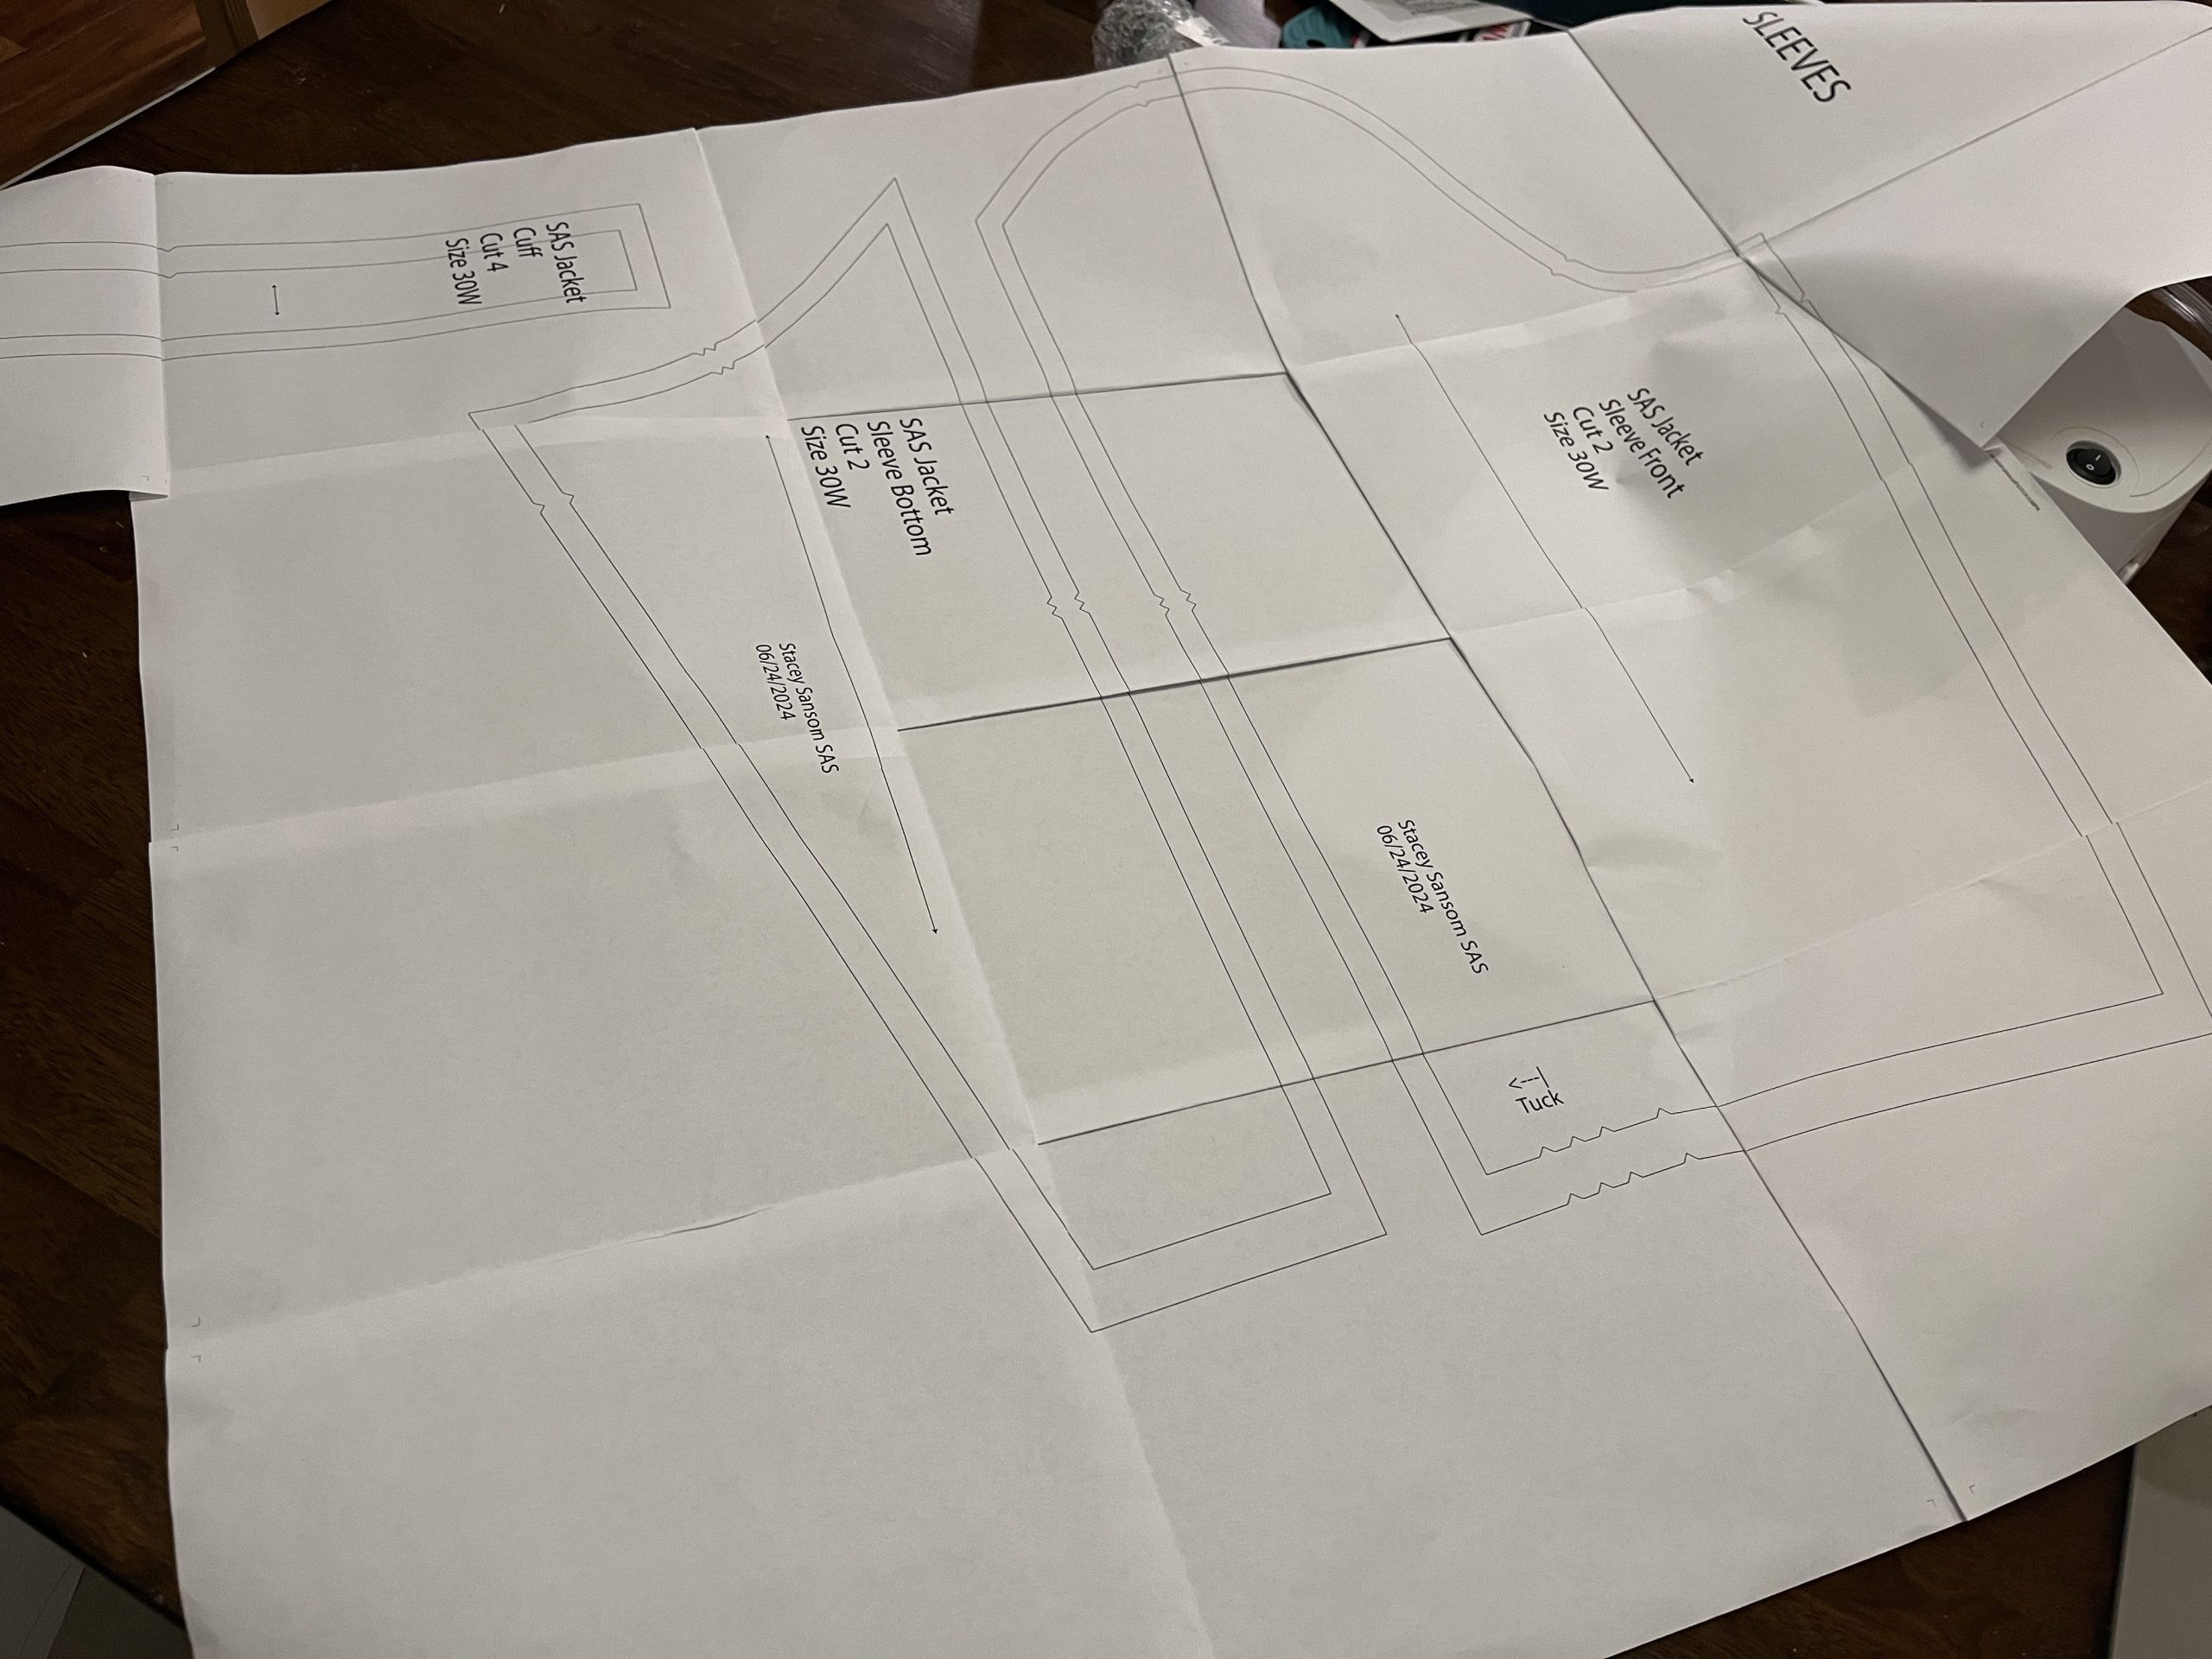
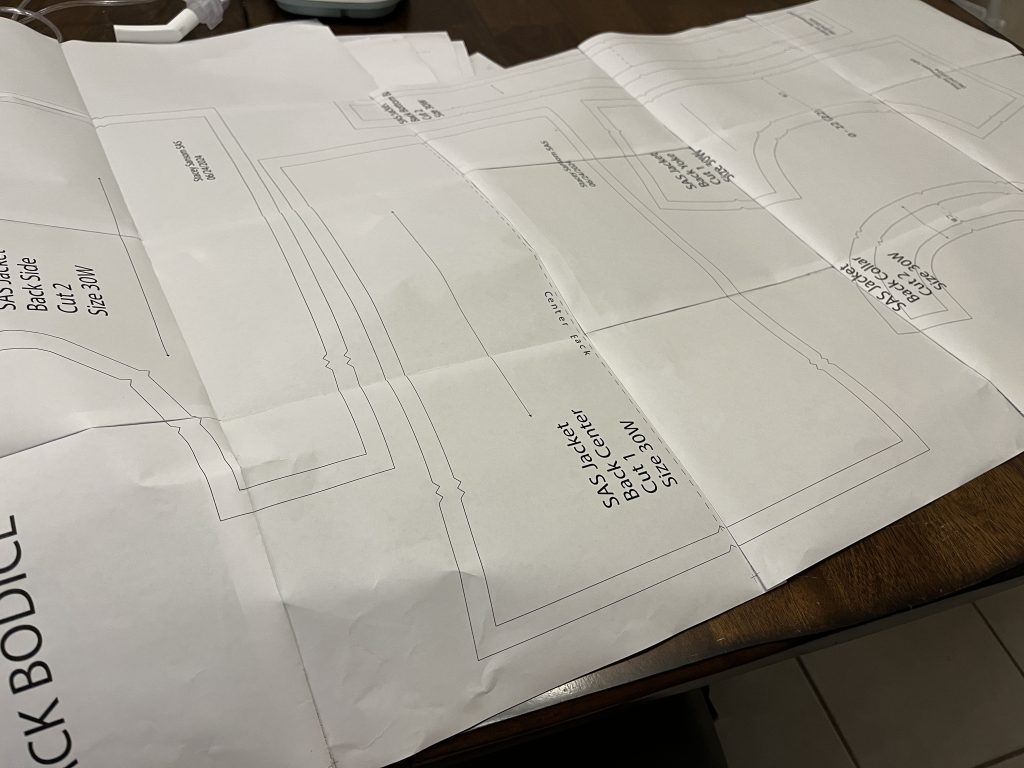
Pattern piece progress
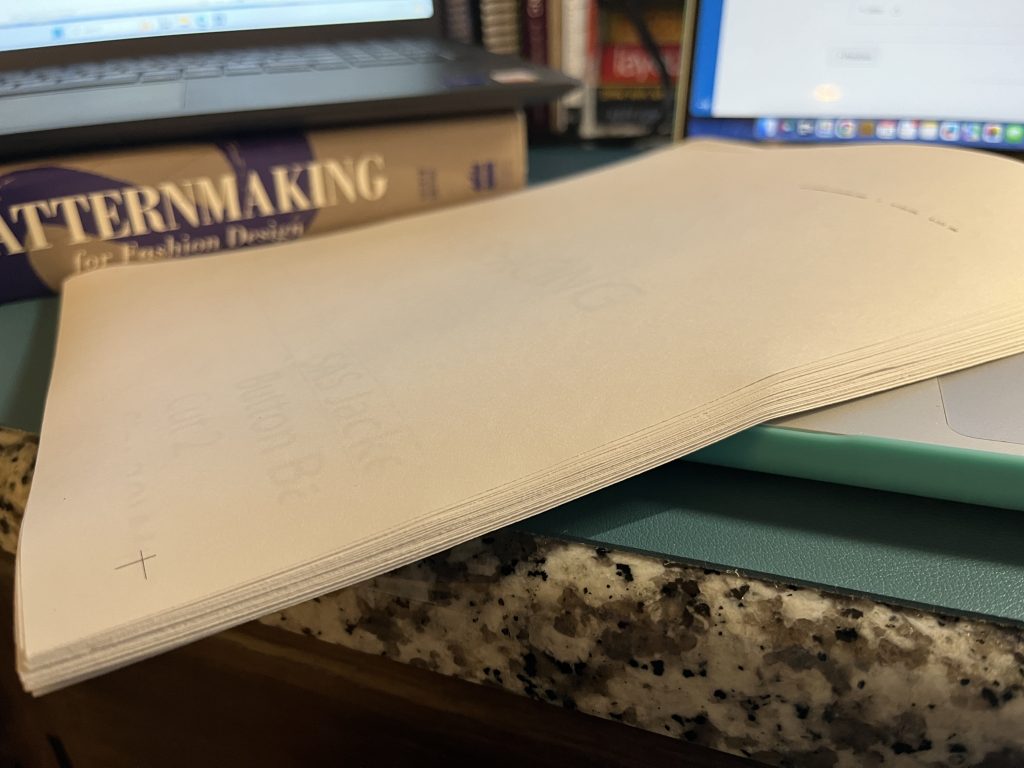
The phase between getting all of my pattern pieces separated in Accumark and making sure that everything was accounted for was tedious. The picture here before seam allowances did not include any of the interfacing pieces. I was torn between creating those separately or not because most of them are identical to the pieces used to cut the main body fabric. The only difference is the one that goes down the center front of the jacket to reinforce the button area. I did finally get all the pieces – I think.
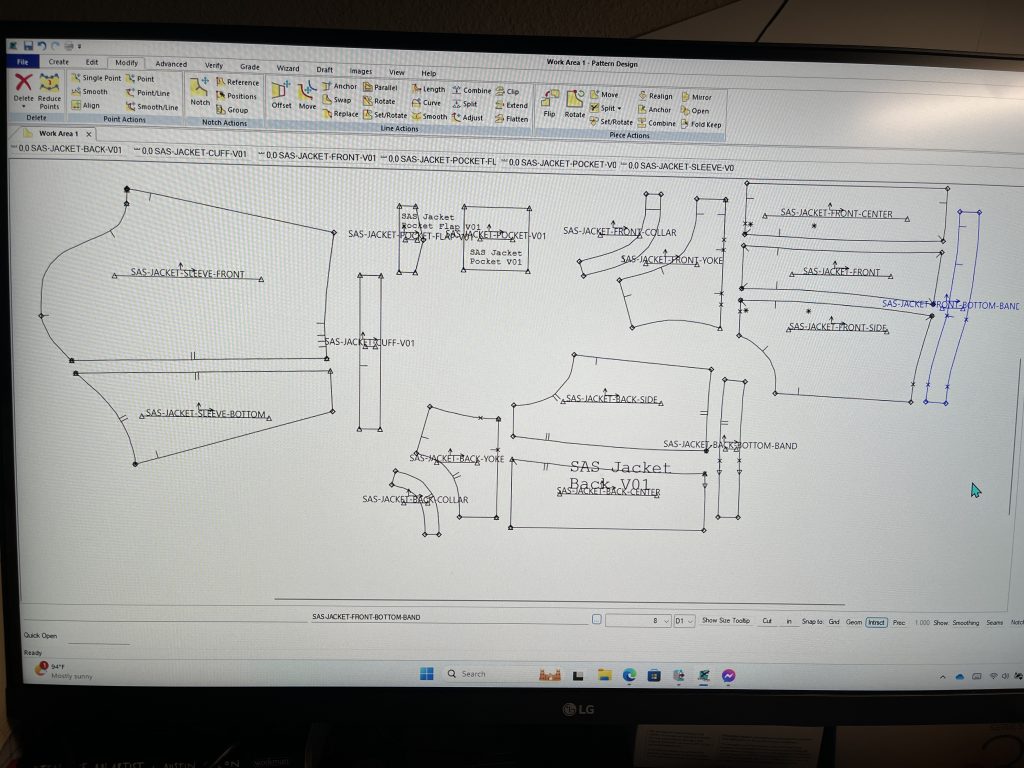


Pattern piece printing time
Once I had the pieces ready, it was time to export them from Gerber Accumark. Since I do not have a fancy plotter or a large format printer, I had a couple of choices.
- Find a printer locally that could print the large format files
- Send to an online printer that could rush deliver the large format pages
- Print them at home
Any of these require me to export to a format that could be read elsewhere. Fortunately, I can place the *.dxf file format into Adobe Illustrator. What I could not figure out was how to export all the pattern pieces in one big file. I had to export each piece individually. Is there a way to do it? I have no idea.
I opted for option 3, printing at home. The two places nearby don’t do large format printing the last I checked, also “nearby” is a very loose interpretation of the word. Time is of the essence, I only have so many hours in the day. With the deadline looming, using an online printer for delivery at home was not a viable option. As much as I loathe printing and taping together PDF patterns, it was the best option for the preservation of my sanity.
There was some clean-up required of the files upon placing them into Adobe Illustrator. This was minor stuff, but I felt better doing it. Truthfully, there was learning going on in this process as I saw how the program exported each pattern piece and the different layers, groupings, and whatnot that go into the digital piece. It is all about perspective.
Pattern taping time!
There is nothing that makes piecing PDF patterns back together an enjoyable affair. When you are sitting there looking at a stack of 100 letter-sized pieces of paper you just get comfortable. Period.

Unfortunately, I was working with minimal “printer marks” on the edges of the pages because I am not an expert digital pattern maker and I was working with what I did know and understand. The good news is that this was adequate to get the job done with minimal fuss. I also opted to use an old glue stick because that was what I could find at the time. It worked and was reasonably adjustable until it dried.
I created my Adobe Illustrator artboards the size of an A0 piece of paper. There was reasoning for this! I want to avoid printing patterns as much as possible. Yes, I hate it. No, that won’t change any time soon. I own two projectors for pattern cutting because I hate it so much. Because of this, I left large margins around the entirety of my artboard when placing my pieces. That space is needed when moving the digital pattern around on the table with the projector. I was forward-thinking so I would not have to do more work later.
In Adobe Illustrator, I divided my pattern pieces across four A0-sized artboards, logically placing them together by garment section rather than making them all fit maximizing every inch of the pages. If I cut these pieces out to use on my fabric, I can manipulate them however I want.
I had a lot of excess or blank pages because I did have such large margins so I only glued together the pages that were needed. Scrap paper anyone?
Real pattern pieces – accomplished!
This seems small, but it is a huge accomplishment!
Not going to lie, it feels amazing to know that I designed these patterns using my “personal slopers” and making necessary adjustments based on some body measurements I know have changed since I created my original slopers. In theory, if I have done everything according to the instructions given, this jacket should be my size and have a reasonable fit on my body.
The original jacket does not fit. I purchased the size based on what size I typically wear in read-to-wear garments and the body and garment sizing provided on the website. I can get it on my body. If I were to lose 10-15 pounds, it would fit. The problem is common for most clothing – the sleeves are too tight. Very tight.
I am excited about this patterning process because it offers hope.
You can read more about the jacket recreation project from my previous post – Recreating is Learning.
My backup projector is ready for pattern pieces
This afternoon, I found a couple of levels in Ben’s woodshop to use and set about the task of leveling the Epson ultra short throw projector. Last week, I purchased a rolling TV stand with a shelf (for my laptop) to mount the projector to and got it assembled with Kyle’s help. It needed a longer bolt and some crosswise support to finish mounting the projector on the VESA mounting hardware, but a trip to Ace Hardware and I had what I needed. I just had not leveled it to my tabletop. Today, I did that.
I am super excited about this because while the UST projector is my “backup” it is what I have to work with right now. My much nicer projector still needs to be mounted with a mirror to increase my available throw distance to match the requirements of the project. Instead of waiting endlessly, I opted to buy the UST to use temporarily. I would gift it to my sister, Ann, once I am done with it. So far, I don’t regret buying it although it is a bit bulky and produces a lot of heat. I think it being mounted on the cart will help tremendously! I need to get a piece of wood or tile to put on top of the carpet where it sits to prevent the carpet from throwing off the balance/leveling.
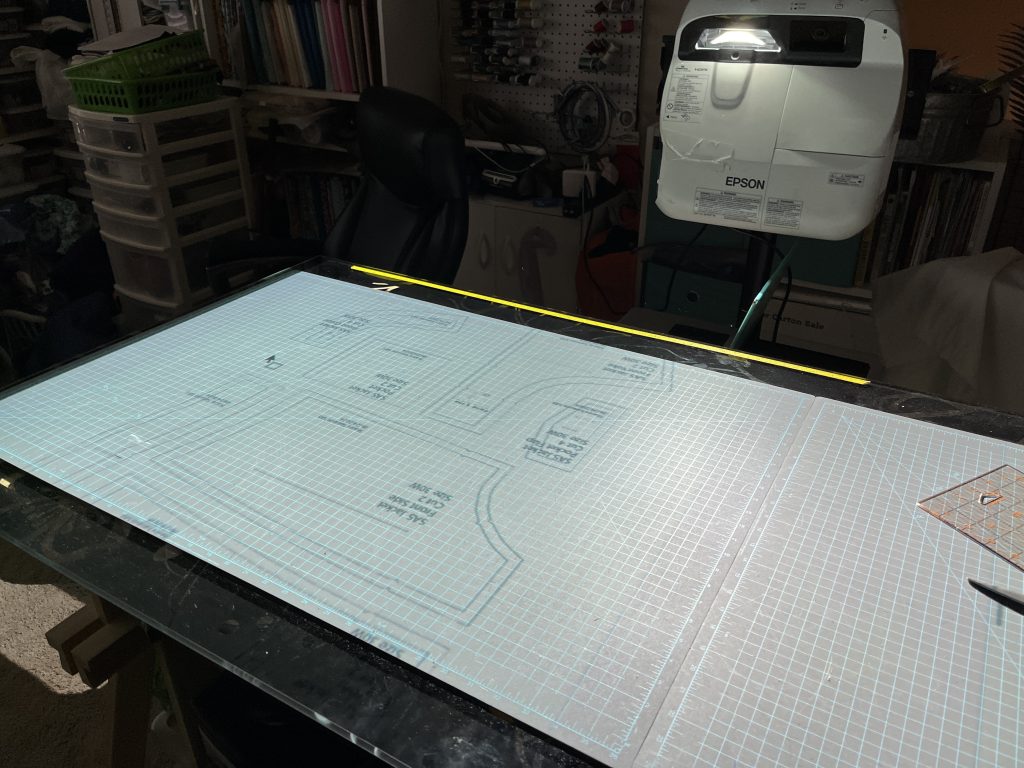
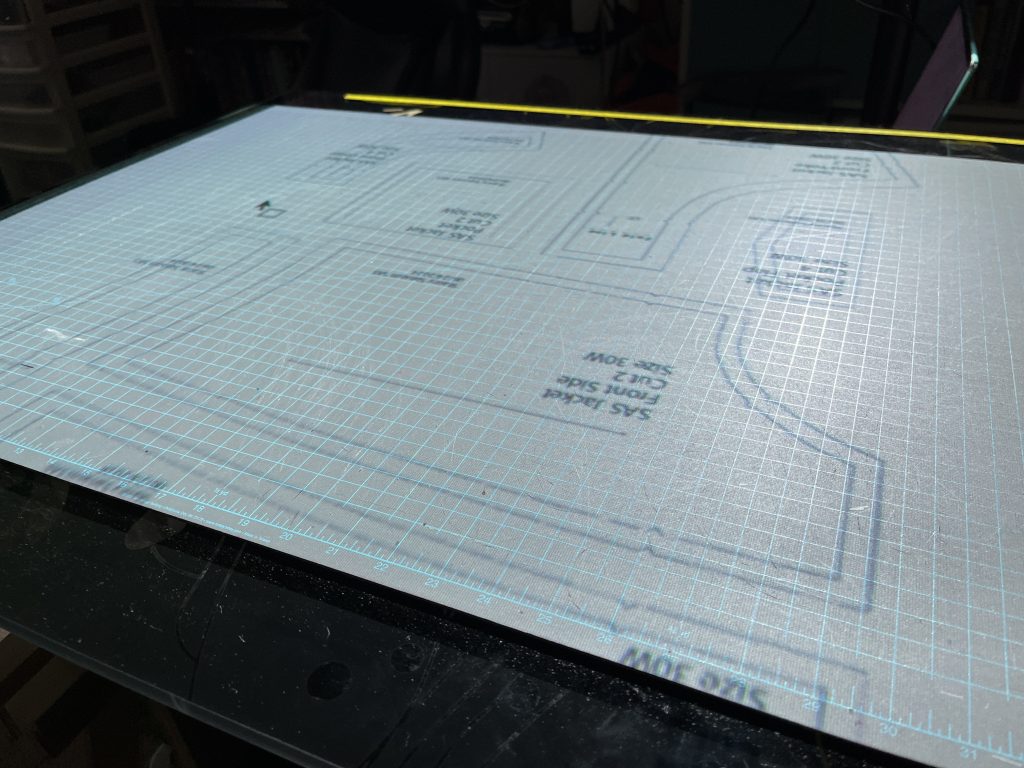
In this process, I learned a few things about formatting pattern pages for use with a projector. I already knew that I would need to thicken my lines, but I am impressed with the visibility of these patterns as they are designed and exported from Gerber Accumark. I need to rotate my artboards in Adobe Illustrator, but overall, these are functional as is.
The next step
This is as much about learning digital patternmaking techniques as it is about learning the CAD program. There is so much to make sense of.
The next step is to cut these out of fabric and sew up a sample. I will do an initial sample out of cotton muslin for fitting purposes, but I have a lovely slate grey lightweight twill to use for the final product.
I dug out the bolt of cotton muslin I found a bolt of this fabric on clearance at Walmart several months ago and cut a bit more than 1.5 yards. It was incredibly wrinkled, but I was excited to see that it was the wide-width fabric. I cannot remember the exact width, but it was like the 108-inch wide muslin.
Minor setback
Unfortunately, we are in the height of summer here and between the projector’s fan blowing onto the ironing board and the heat of the iron itself, it was getting a little toasty upstairs. I did manage to get this piece pressed for usability, but I had to find a cooler place after I finished.
As a sad aside, it appears that was about the time the air conditioning in our house started to lose its cool. This evening, as I am typing this up, I am waiting desperately for the inside air temperature in our house to fall below 77˚F again. The AC repair guy will be here sometime tomorrow, but there are no guarantees that he will get to us before we hit over 100˚F outside again.
I will try to get as much cutting done as early tomorrow morning as I possibly can. If all else fails, I will have to move things downstairs and work on the table on the ground floor. I have a cardboard cutting board, scissors, and my paper patterns (that I printed and assembled two days ago).


Be the first to comment