As anyone that has been shopping for bathroom lighting lately knows, these lighting fixtures can be very expensive for the most basic of fixtures. Lighting fixtures for anywhere in the house can be expensive. This is not something I wanted to be spending a lot of money on since we were not staying in the house.
Unfortunately, we were in a bit of a quandary since many of our lighting fixtures were aged. They were the originals in the house after all. They were 14 years old. We were not going to worry about the ones that were 100% operational and still sturdy light fixtures, but there were others that were not so operational and were going to have be considered for replacement. Some would be considered for replacement for their looks. Why? They just looked bad all the way around. They were covered in rust.
On the search I went…
I am fairly handy and I am willing to make do with what we have, but I am also going to weigh my time versus the benefits of that time. If I am not going to gain anything for the amount of time I am going to have to spend fixing the item, it is time to spend the funds to just get a new one and work up from there. It comes to the costs versus the benefits. What am I losing by spending the amount of time? What am I gaining? How much time will it take me? What is it worth? There are a lot of other questions that I would ask as well. What am I willing to spend? What can we afford? Those kinds of things.
So my knock list on the lights to fix or replace included:
- kitchen lights (2)
- half bath light
- master bathroom lights (2)
- master closet light
- upstairs bathroom light
The kitchen lights were original to the house. They were the long tube lights. There were two units that held two tubes each. They were flickering more and more when we would turn them on. The bulbs were lasting shorter times when replaced. They were replaced with more efficient units with electronic ballasts in them. They hold a thinner tube light (a T8 as opposed to the previous T12 bulb) and we swapped those out for an LED version. A much brighter kitchen is the result. The lights turn on instantly and there is no flicker or buzzing.
The master bathroom lights as well as the upstairs bathroom are fixtures that are a long rectangle holding 6 globe shaped lights. They were those clear incandescent light bulbs originally when we bought the house. Over the years we swapped them for compact fluorescent bulbs. That was a bit more energy efficient and certainly more bearable to the eyes and on the temperature scale. Those CFL bulbs, however, were never cheap. These fixtures have not held up well to the moisture over the years. They are well covered with spots of rust all across the back support and the pieces that cover the part where the bulbs screw in. It is an universal problem across all three fixtures so it is not just one room in particular although the upstairs bathroom is the worst. Since we have made the conscious decision to change all the lights in our house to LED lights changing 18 of those globe lights to LED bulbs was not super enticing. While LED bulbs have come down, not all are affordable yet. These were definitely high candidates for the “replace” list.
The master closet light is original to the house. It is a fixture that contains 2 tube lights. They are flickering almost constantly now and the unit has a faint hum to it. I have already purchased the more efficient T8 unit with electronic ballast and the corresponding LED light tubes to replace this. I cannot wait to walk into the closet and not think about how annoying and painful the lights are.
The half bath light, however, was just a light that was just a bit dated. I was changing a faucet in the bathroom and well I was giving it a bit of an update so the faucet needed a little face lift. It was not that I hated the light fixture. It was in principle just fine. It had a touch of rust as well, it just was not that bad. It would in theory be a quick fix. So it got the “fix” list.
So we made a new light…
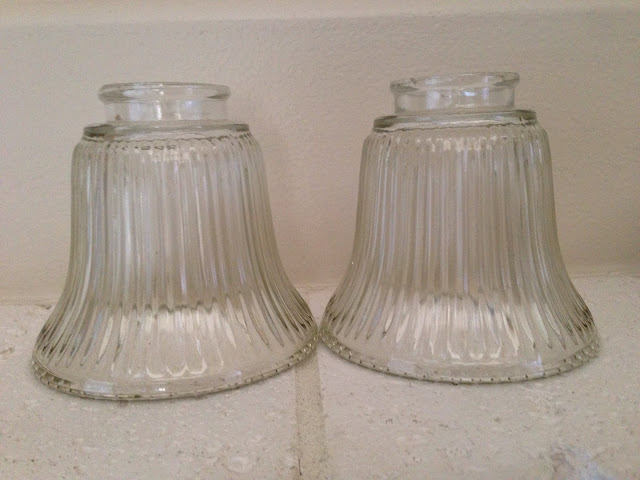
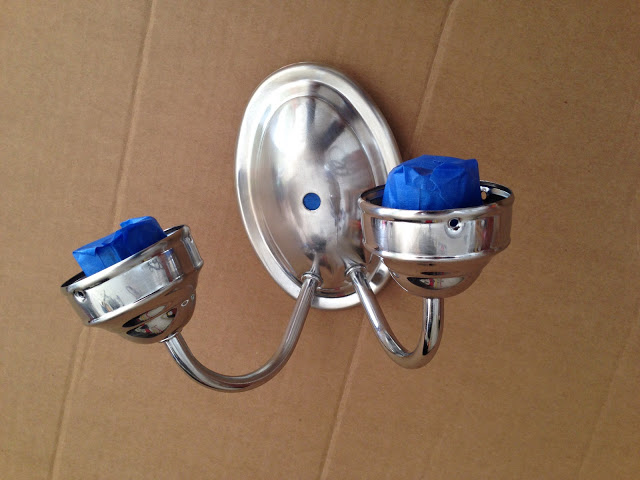
First you need to decide what makes you the most unhappy about the light fixture. Is it the light covers or the light fixture itself. I did this by simply removing the light covers from the light fixture itself and setting them aside where I could see them. I decided that I was fine with them. I could frost them and get a new look if I wanted, but in principle these were just fine. They were still being sold on the store shelves in more than one store. I ran them through the dishwasher a couple of times to clean them up good.

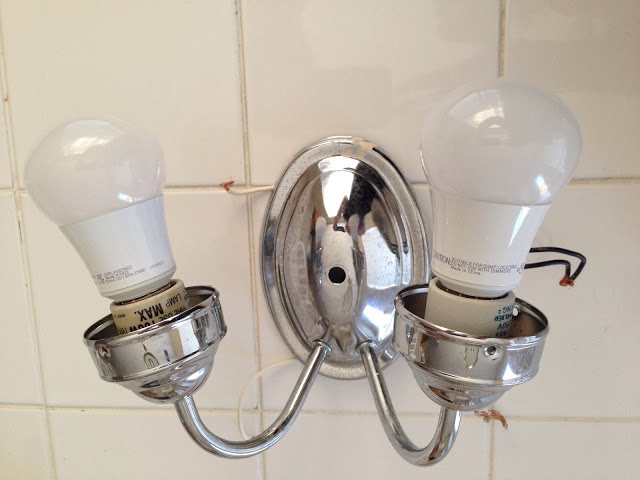
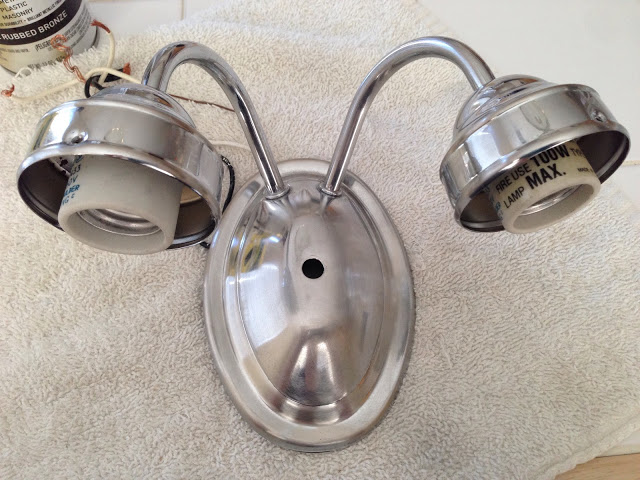
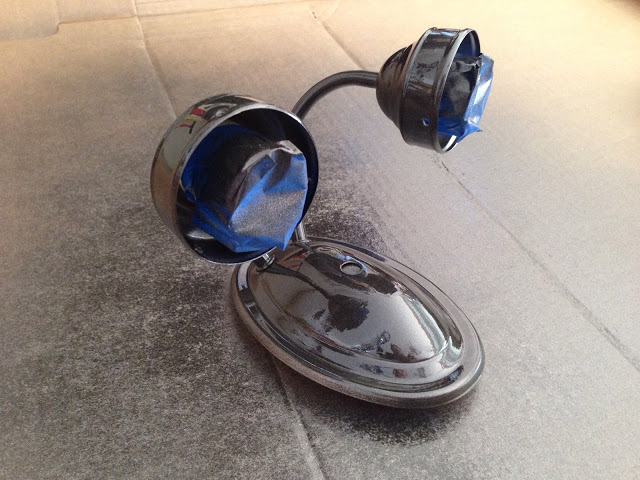
I decided that I was not unhappy with my light fixture. It just needed a little TLC. It was in principle fine. From a distance it was not even in bad shape. You can ignore the fact that I got a little paint on it while painting. It was not banged up or anything like that. It just lost all of its “pop” and “wow” factor over 14 years of hanging on the wall. I want you to know that this is a fixture that was hanging with the light covers hanging down. I am pretty sure that it can hang either direction. That could give your light a new look, perhaps. I do not personally care for the light covers pointing to the ceiling where you have an instant dust and bug trap. No thank you.

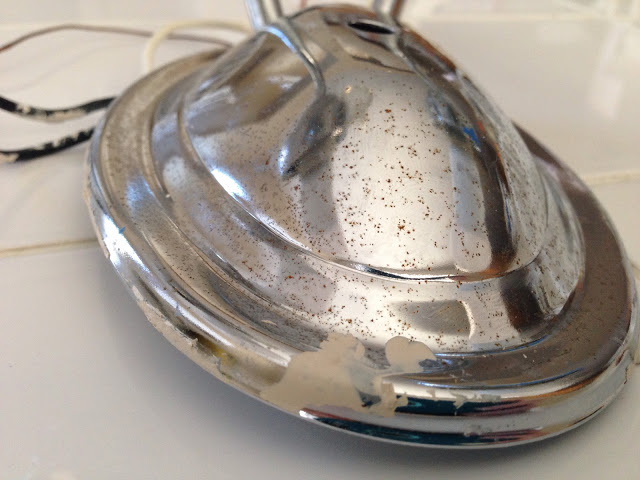
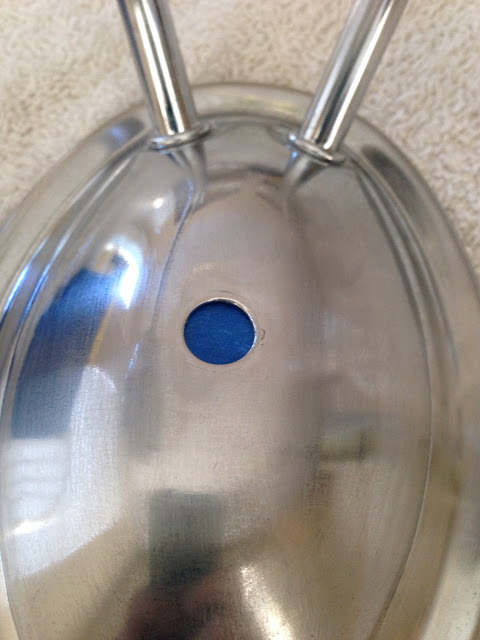
Up close you can see that my light fixture has some small imperfections. It is not big. Compared to the light fixtures in the master bathroom and the upstairs bathroom, this looks like a little blip on the radar. The paint gets a free “ignore that” pass. That was me not getting the painter’s tape on the light fixture very well in that one spot and then I slipped with the roller and made a bigger mess. The tiny rust spots are not a big deal in my opinion. The rust spots on the other fixtures are much larger.

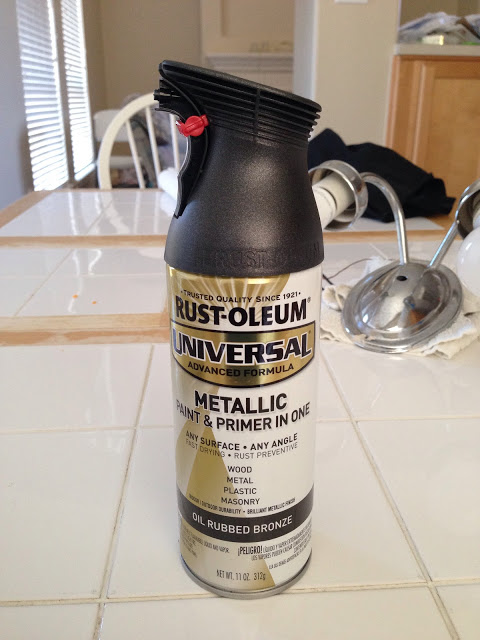
I am going with an oil rubbed bronze look in the half bath. I am not a huge fan of this to be honest with you, but I think it looks nice in small doses. I do think it looks nice in small bathrooms. So I decided on it for the half bath. Thank goodness it is only the half bath because I am not sure how anyone can afford it for large bathrooms that needs multiple fixtures. This look gets expensive fast. To achieve this look on my “new lighting fixture” I was lucky enough to find a can of spray paint that was perfect for the job. Rust-oleum makes the right color in their Universal Metallic line. This stuff is pretty awesome for small jobs like this.

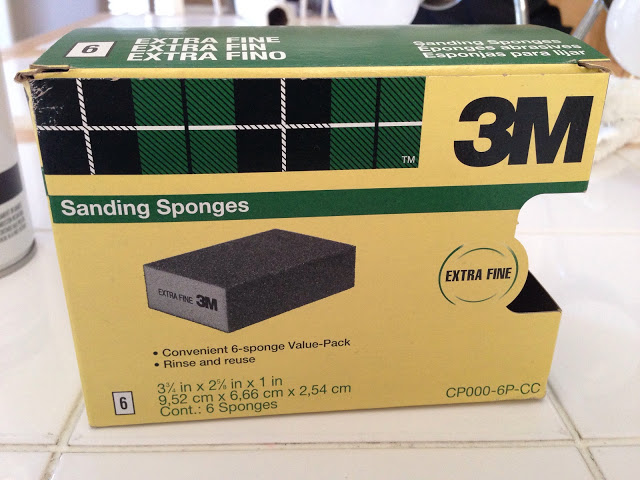
To get your light fixture ready for the spray paint, you are going to need to sand it down. There is no skipping this step if your surface is as riddled with imperfections as mine is. Get a mask and then get started. It is not fun, but it really does not take long. My little light fixture only took about 15 minutes or so. It really does not take long at all.
If you have not already considered making the move to LED lights, I highly recommend it.
We started switching to LED lights a while back, but it was very expensive so we had not gone 100% yet. To do just one room was close to $50. That was a bit excessive. We did it for my child that suffers from migraines. Unfortunately back then LEDs were still fairly new in the consumer market and the variety was not anything near what is available today. He has these bright white lights. He has a dimmer switch in his room and he can dim his lights, he does this often.
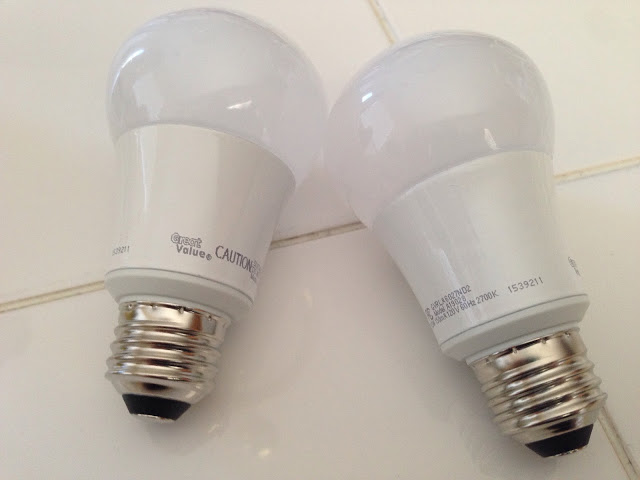
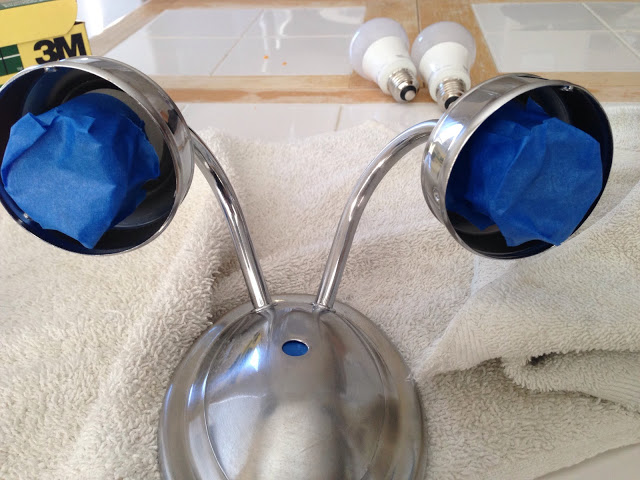
Right now we are finishing up the whole house conversion. We have opted for a very comfortable soft white light. To be precise, it is a 2700k color temperature. It is a yellow light that is soft and comfortable. It is similar to an incandescent light. The difference? It is much brighter while maintaining that comfort level. These bulbs above in the picture are from Walmart. You can get them for under $5 for two bulbs. They are the equivalent of a 60 watt bulb. They are 800 or 850 lumens each. They are available in both dimmable and non-dimmable versions. The key is that 2700k temperature though as we put a 100 watt equivalent in the dining room and it is just as comfortable. These can also be used in fully enclosed light fixtures which is important to pay attention to when you are purchasing LED lights.
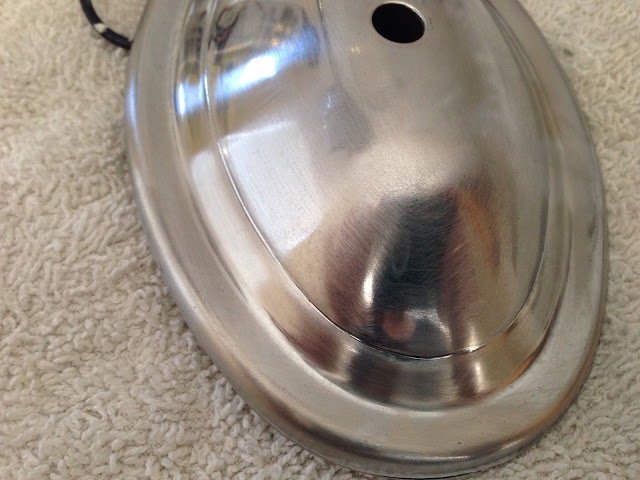
After you have spent a small amount of time sanding, your light fixture will appear to be even duller than before. Do not worry, you are about to restore it and make it beautiful again.
Here is a close up of the fixture with all the sanding streaks in the metal. You do not need to worry about these so much with this particular spray paint color choice. With a more metallic choice, you might need to worry about it. My recommendation would be to use a finer sand paper in those cases.
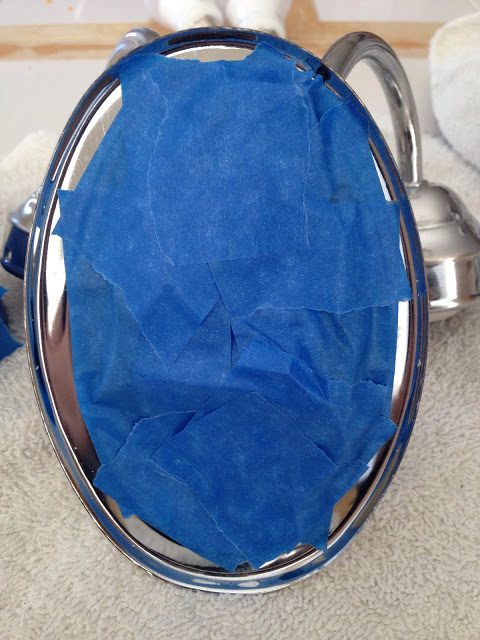
Now it is time to cover up all the wires and electrical bits with tape. I just used painter’s tape. It was quick and easy. You need to cover up any place where the paint might run into the fixture that might cause problems with wires inside.
Do not forget to cover the sockets where the light bulbs screw in. You need to cover these. It was a tiny bit tricky to cover inside the metal pieces. Just be careful to cover the inside pieces the best you can.
I carefully tucked all the lose wires together and then covered them thoroughly with painter’s tape. It does not matter if you get paint on the back of the fixture so I only spent time covering the wires.
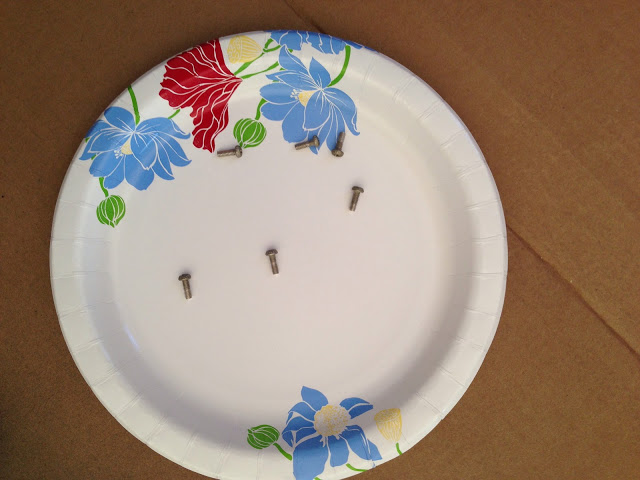
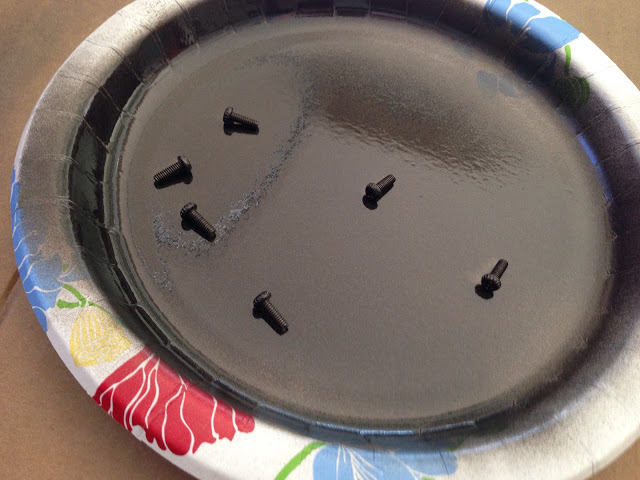
Do not forget the screws that hold your light covers in your light fixture. I used a paper plate to hold them. This kept them together in one place and I did not have to worry about the force of the spray paint blowing them away.
Normally I would use the spray paint outside, but it is raining outside today. Placing the pieces on a large piece of cardboard in the garage is going to have to work today. While this particular spray paint does not have as much over spray as many spray paints, it still has over spray.
First coat! I went around my light fixture on all four sides. I sprayed evenly back and forth covering all the way across the fixture starting closest to me all the way across to furthest from me. I would then step around to the next side (imagine a square) and do it again. Doing this essentially gave the light fixture a good four coats of paint on it. These were not heavy coats of paint by any stretches of the imagination. They were even. You do not want the paint to run, you just want good coverage. I let this dry 1-2 hours.
After the first coat of paint dried 1-2 hours, I went back to do it again with a second coat of paint. I repeated the process again. As you can see the color is much richer.
I did rotate the light fixture checking for spots that I might have missed. I did have to turn it over a couple of times so other parts were exposed. All in all I think I finally ended up giving the light fixture 4 coats of paint. Keep in mind that none of these were heavy coats of paint.
I only needed 2 coats of paint on the screws. What is not shown in this picture is the nut that goes on the front of the light fixture. I forgot to put it on the plate the first 2 coats. I did get it painted as well.
I was very pleased with the results going through the process. I will post pictures after it all dries completely and I can move it to get good pictures.
This process is time consuming in that it does require multiple coats of paint. The process to prep the light fixture for the paint is not that extensive as it only took a few minutes to sand it down. A more detailed light fixture might be less enticing, however, as it would require more work. Also more rust damage would take a much more work to clean up and get smooth for a smooth paint surface.
I would definitely do this again for a light fixture that needs a small amount of work but is otherwise in decent shape.


Be the first to comment