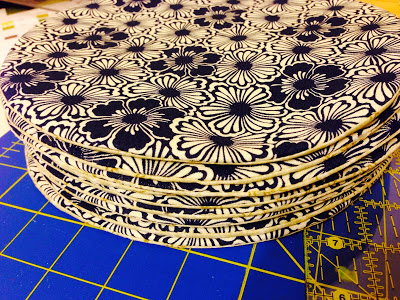
First you start with a lot of circles that are sewn together. This is a process by itself and probably the lengthiest of the entire process. You have to cut all the circles from the fabric and batting, then sew them all together, then turn them all right sides out and press them all. When you are done, you will have a stack of circles like above. You might want to call it quits right then. I will admit to sitting there admiring my circles and just wanting to be done at that point.
You are not done until you have sewn all those circles together, however. You have to mark each circle with a square that fits inside the circle so that you will have your “point” where each circle meets and folds over.
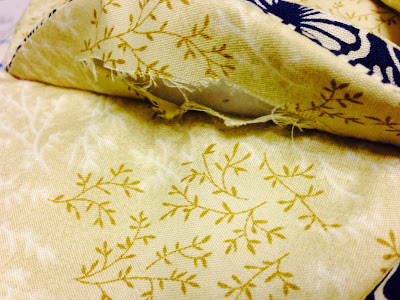
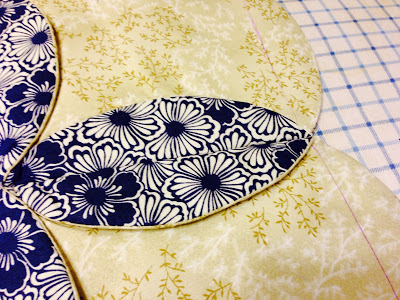
The beauty of this particular method is that the “hole” I used to turn my circles is nicely hidden in the flap that will be sewn down after my circle edge is fold over. No one will ever know that it had a hole there unless they take it apart or it happens to come apart.
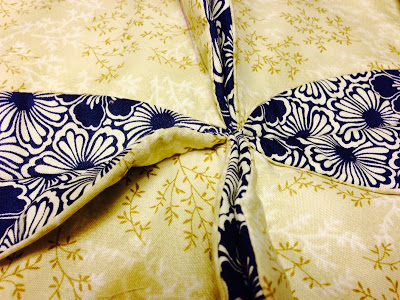
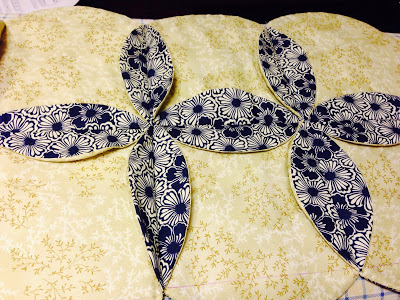
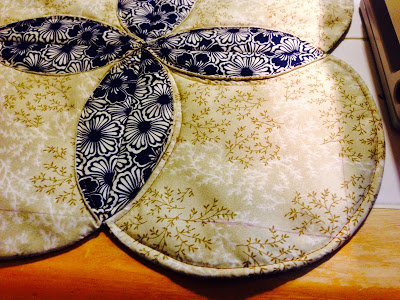
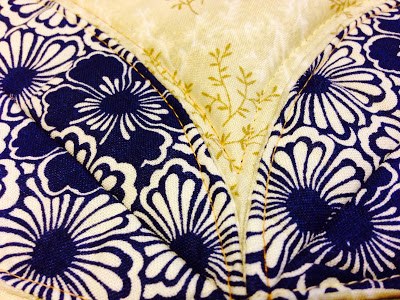
Once you get your circles sewn together along the “square” lines, and pressed down, your “blocks” looking something more like this. You might notice that there is quite a bit of bulk in the center. This is fairly common with this method so you will want to choose fabrics that are not bulky to begin with. If you have not quite gotten your “square” lined up perfectly, you will end up with a bit more bulk than you would normally have.
Here you can see how I marked my square using a disappearing ink pen (made specifically for sewing).
You repeat the process of sewing the circles together along the “square” lines until you have all the circles sewn together and pressed.
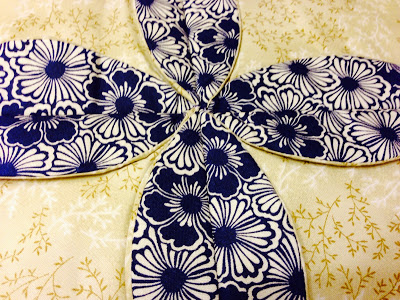
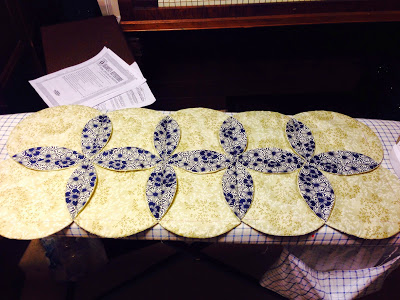
Once everything is sewn and pressed your table runner looks like this.
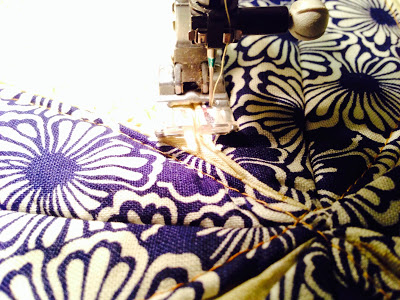
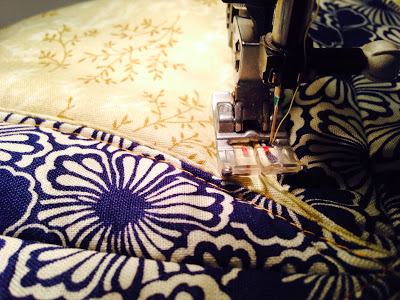
Now it is time to “top stitch” your flaps down. I start at the edge and do one long continuous top stitching around the edges until I get to where I started, pivoting at the points, etc.
I like to go around 1/8″ from the edge on both sides of the edge of the flap to give a nice finished look.
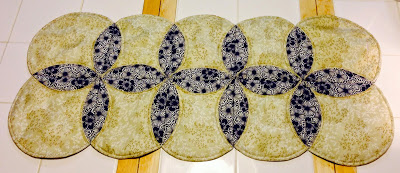
The finished table runner.

Be the first to comment